
Table of Contents
When summer heat waves roll in, a reliable air conditioner becomes more than just comfort—it’s essential. Across Canada, from humid Ontario suburbs to dry Alberta plains, thousands of homeowners face unexpected AC breakdowns each year. Most of these could be avoided with just a bit of regular maintenance.
The good news? A few simple DIY tasks can go a long way in keeping your system efficient, your home cool, and your energy bills under control.
If you live in Vernon or the North Okanagan, skip the guesswork—contact Vernon Air Conditioning, Plumbing & Electrical for a professional AC tune-up. We’ll make sure your system is ready when you need it most.
Safety First: Turn off the Power
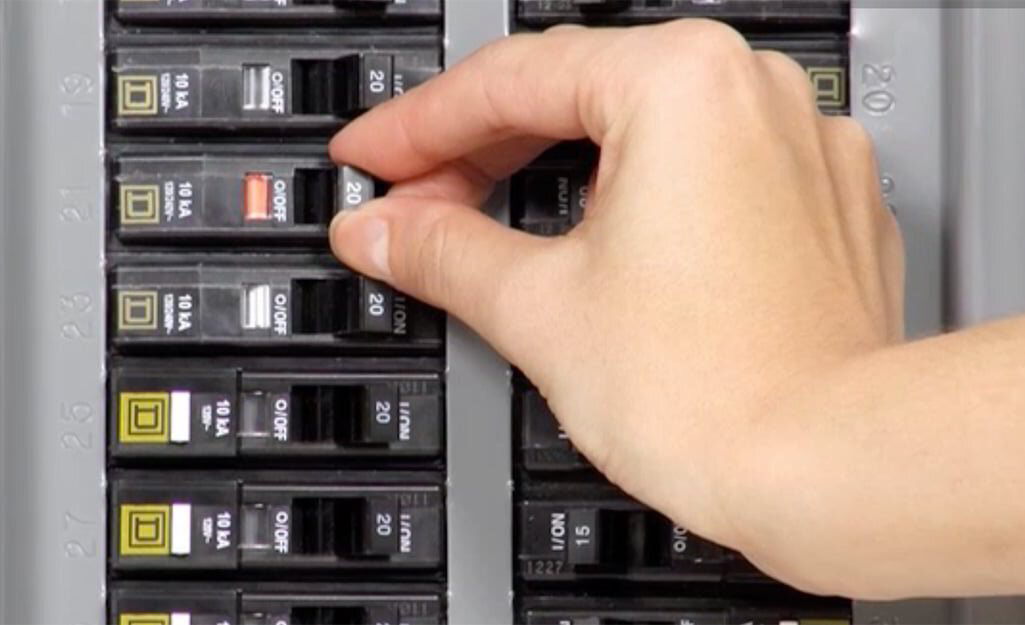
Before starting any air conditioner maintenance, safety comes first. Always shut off power to the unit to prevent electrical shock or accidental activation.
You can do this in one of two ways:
- Switch off the disconnect box located near the outdoor unit.
- Flip the appropriate circuit breaker in your main electrical panel.
If you’re unsure whether you’ve properly cut the power—or if you don’t feel confident handling electrical components—it’s best to leave it to a licensed HVAC professional. It’s not worth the risk.
Remove Debris
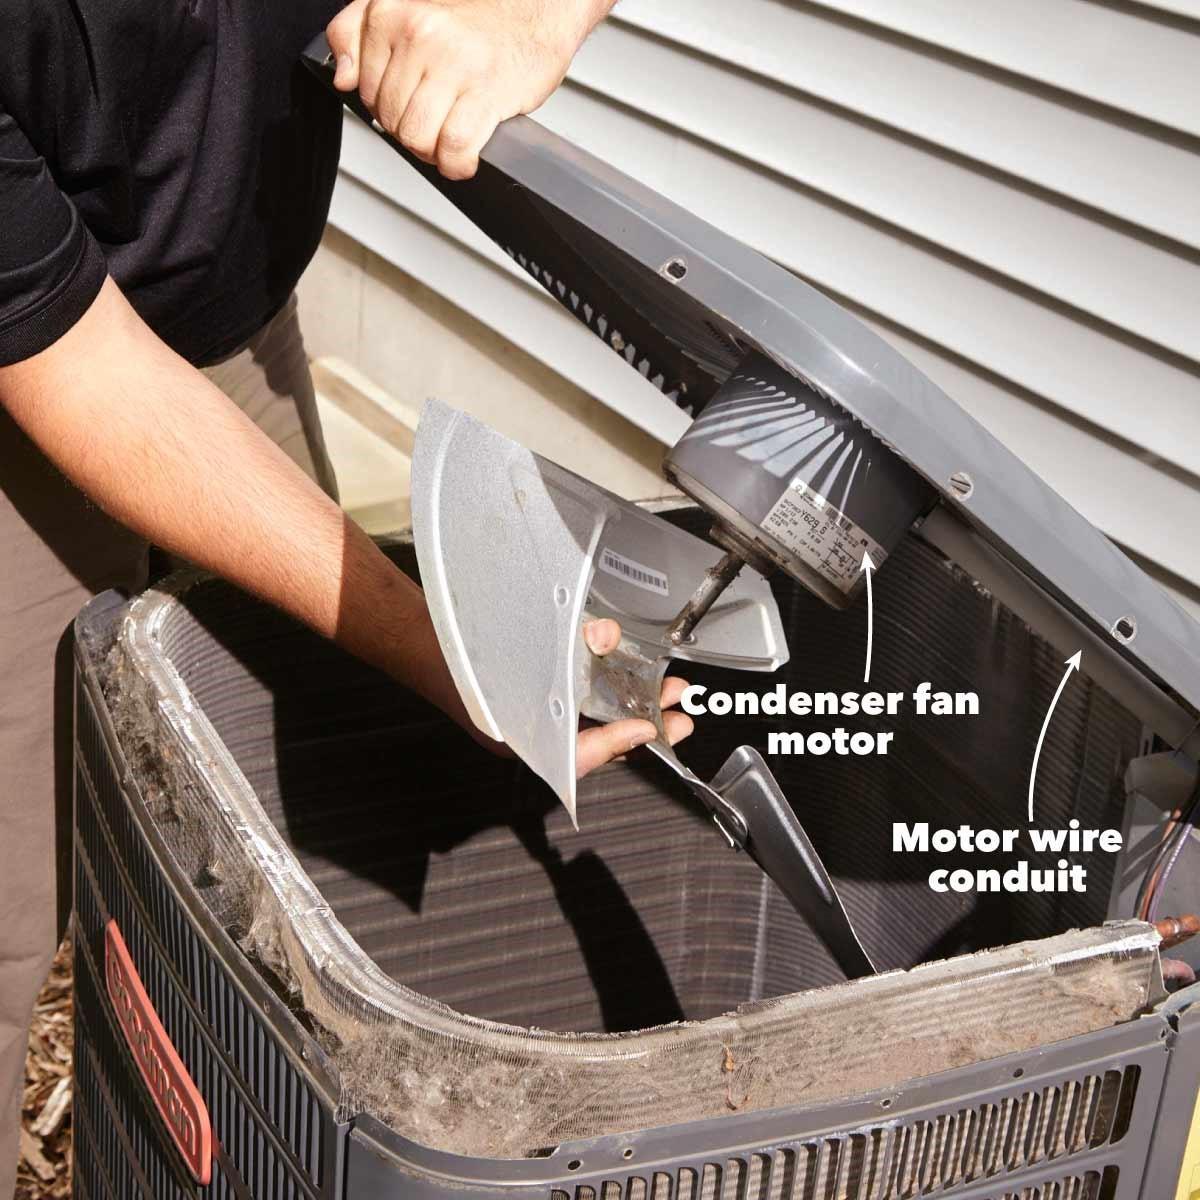
Debris buildup is one of the most common causes of poor AC performance. Leaves, twigs, grass clippings, and even small animals can find their way into your outdoor condenser unit, restricting airflow and straining the system.
Here’s how to clean it safely:
- Remove the top panel or fan cage by unscrewing the fasteners. Set the panel aside carefully—some units have attached wiring.
- Use gloved hands or a vacuum to clear out leaves, twigs, or any debris inside the unit.
- Inspect the fins for lodged debris and gently clean them using a soft brush or fin comb.
- Straighten any bent fins to restore proper airflow to the condenser coils.
Keeping the outdoor unit clean is one of the easiest ways to improve system efficiency and prevent overheating.
Ensure the Outside Area Is Clear
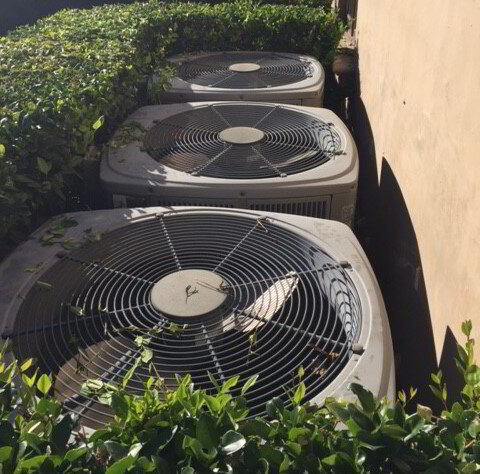
Once your outdoor unit is clean, take steps to keep it that way. Ongoing maintenance around the unit helps protect your AC system and improve airflow.
Here’s what to do:
- Trim back vegetation at least 2 feet (0.6 meters) from all sides of the condenser to prevent leaves, branches, or grass from blocking airflow.
- Clear the ground area around the unit by sweeping or raking away leaves, mulch, and twigs.
- Use a breathable cover during the off-season (especially winter) to keep out dust and debris while allowing moisture to escape.
- Check for signs of animal nesting—small rodents often crawl inside units for warmth in the colder months, which can damage internal components.
Protecting your outdoor unit from debris and wildlife helps prevent unexpected issues when you power your system back on in the spring.
Clean the Condenser Coil
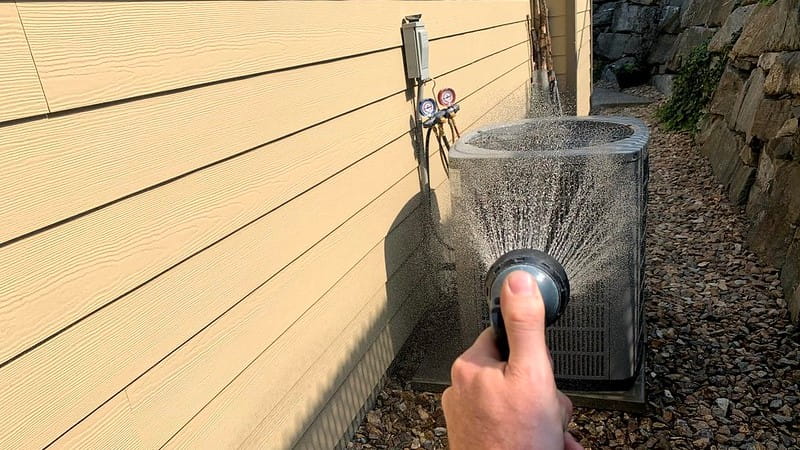
Dirty outdoor coils are a major cause of reduced cooling efficiency. Dust, pollen, and yard debris can clog the fins, making it harder for your AC to release heat.
To clean them safely:
- Locate the condenser coils—they’re the large, metal fins on the outside of the unit.
- Use a garden hose on low pressure to gently rinse away dirt and debris from the coils.
- Spray at an angle, not directly head-on, to avoid bending the delicate fins.
- Avoid pressure washers or high-pressure nozzles, which can easily damage the fins or internal components.
Tip: For stubborn grime, you can apply a coil cleaner (available at hardware stores) and rinse thoroughly after the recommended wait time. Always follow the manufacturer’s instructions.
Level the AC Unit

Over time, your outdoor AC unit can shift or settle unevenly due to ground movement or vibrations from regular use. While it might seem minor, a tilted unit can lead to serious long-term issues.
Why it matters:
- An uneven base can strain the compressor and refrigerant lines.
- Vibrations may stress the piping, increasing the risk of leaks.
- A poorly leveled unit can reduce overall system efficiency and lifespan.
How to fix it:
- Place a level on top of the unit to check for uneven spots.
- Use weather-resistant plastic or rubber shims to gently level the unit.
- Avoid using wood, which can rot or compress over time.
Keeping your AC unit level is a quick, preventative step that helps protect one of the most expensive components in your cooling system.
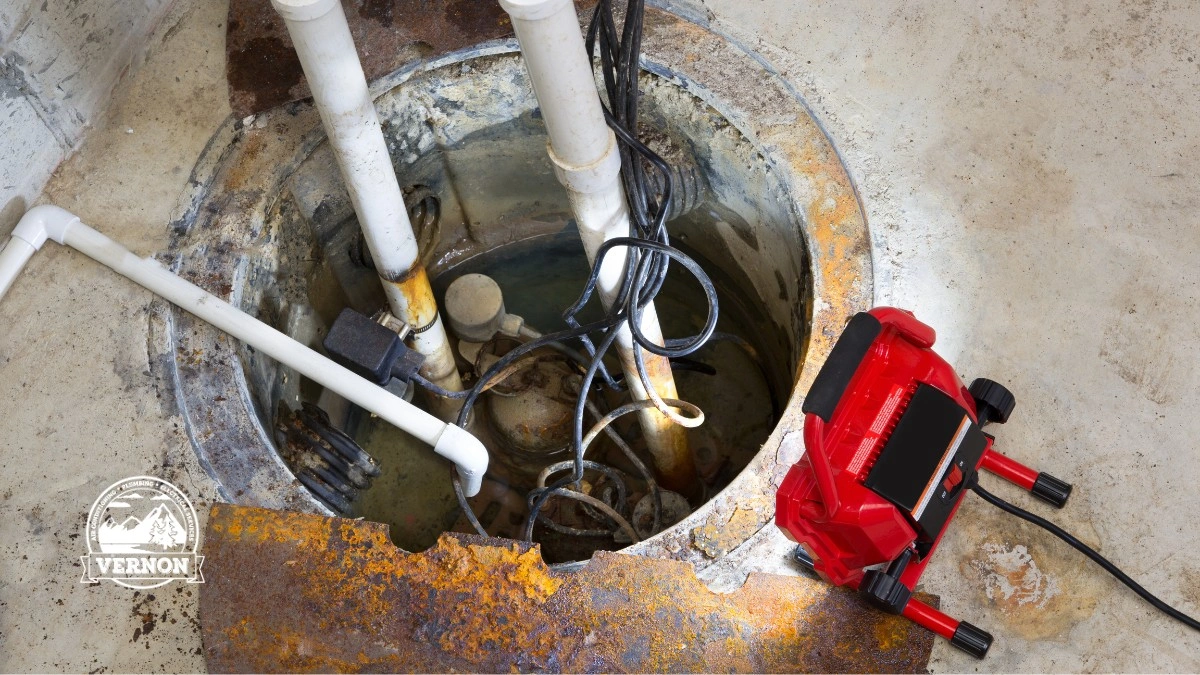
Clean the Evaporator Coil and Drain
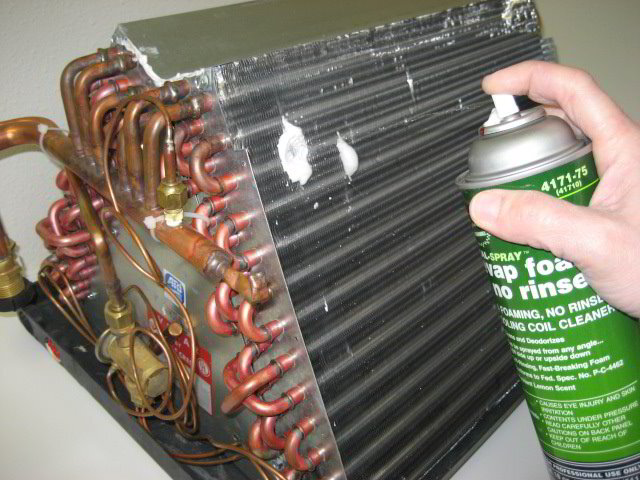
Once the outdoor unit is in good shape, it’s time to give attention to the indoor portion of your AC system—especially the evaporator coil and drain line. These components play a critical role in cooling performance and moisture removal.
Steps to clean the evaporator coil:
- Turn off the power at the breaker before starting.
- Remove the front access panel of your indoor unit (usually near the furnace or air handler).
- Locate the evaporator coil, typically made of curved copper tubing.
- Use a soft brush to gently remove dust and dirt from the coil surface.
- Spray the coil with an AC coil cleaner, following the product’s instructions for soak time and rinsing (if needed).
Flush the drain line:
- Find the drain pan and drain line underneath the coil.
- Pour a 50/50 mix of water and household bleach into the line to kill algae and prevent blockages.
- If the solution doesn’t drain easily, check the pipe for clogs and remove any debris with a wet/dry vacuum or drain cleaning tool.
Keeping your indoor coil and drain line clean ensures efficient cooling, prevents water leaks, and reduces wear on your compressor.
Change the Filter
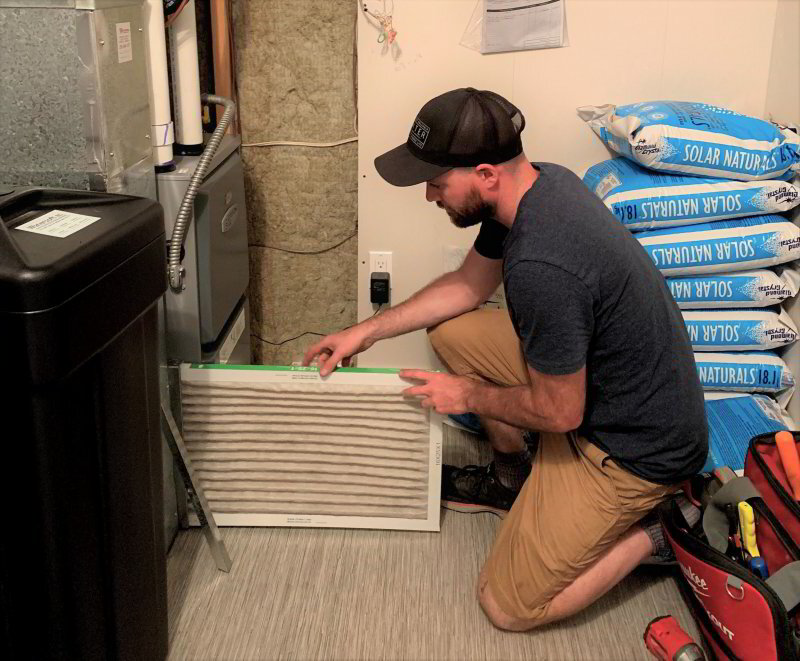
Changing your HVAC system’s air filter is one of the easiest—and most important—DIY maintenance tasks. A clogged or incorrect filter can reduce airflow, lower efficiency, and put unnecessary strain on your system.
How to change it properly:
- Frequency: Replace the filter every 1 to 3 months, depending on the season, pets, allergies, or dust levels in your home.
- Locate the filter compartment, usually near the air handler or furnace.
- Remove the old filter and check its size and airflow rating.
- Install the new filter with the arrows pointing in the direction of airflow (toward the blower).
✅ PRO TIP: Using a filter that’s too restrictive can overwork your compressor and shorten the system’s lifespan—always use the type recommended by your manufacturer.
Once your filter is in place, turn the power back on at the breaker and make sure your system is running smoothly. If it’s still not cooling properly, move on to the next step.
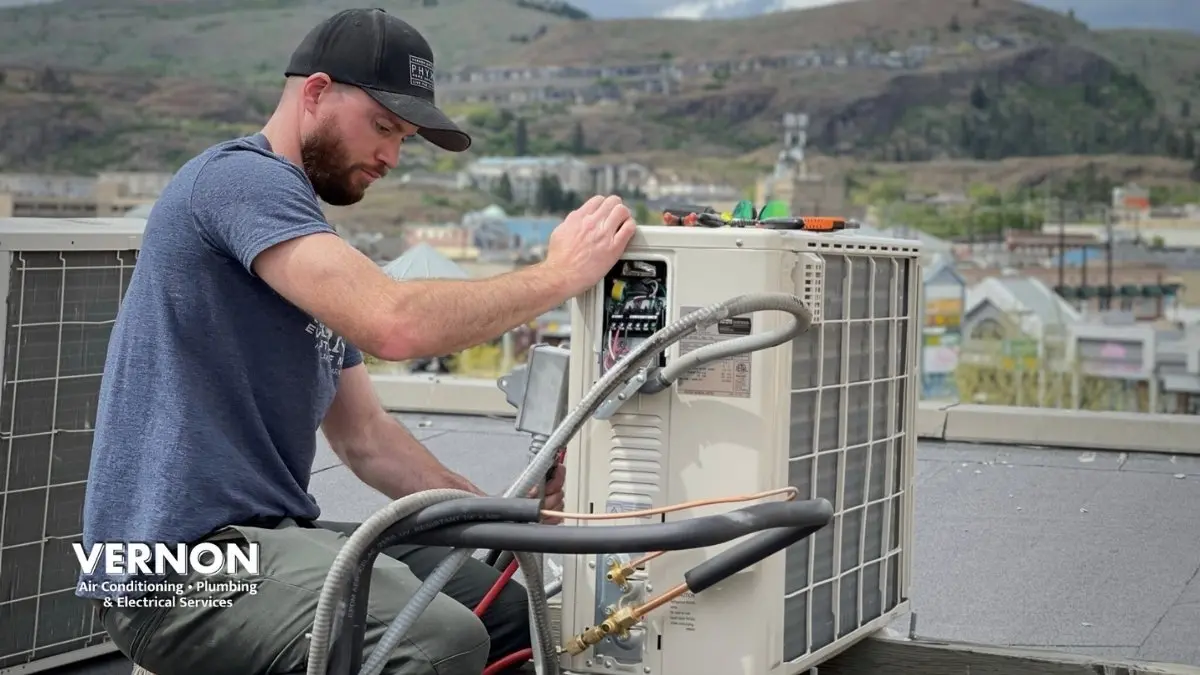
Call Out an HVAC Contractor
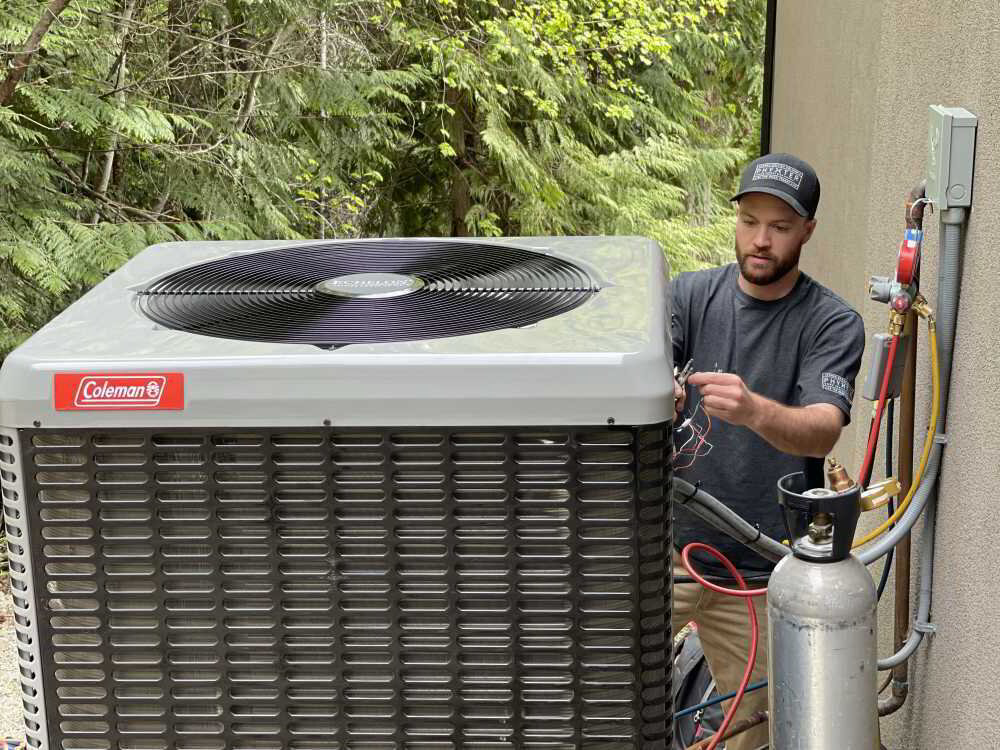
If your air conditioner still isn’t working after routine maintenance, don’t force it—call a professional. Some issues, like refrigerant leaks, electrical faults, or failing components, require the tools and expertise of a licensed HVAC technician.
Here’s when it’s time to call for help:
- The unit won’t turn on, even after resetting the breaker
- Warm air is blowing despite the system running
- You hear unusual noises like hissing, grinding, or banging
- The system turns on and off frequently (short cycling)
- There’s visible ice on the refrigerant lines or coils
DIY maintenance is great for prevention, but some repairs can only be handled safely and correctly by a trained professional. Acting quickly can prevent further damage and keep repair costs in check.
Finally!
Regular HVAC maintenance is one of the best ways to avoid costly breakdowns and keep your home comfortable year-round. While it might seem easy to delay, a proactive approach can save you money, stress, and discomfort when the weather turns extreme.
If you’re in Vernon or the North Okanagan, schedule your next service with Vernon Air Conditioning, Plumbing & Electrical Services. Our team delivers reliable, professional maintenance to keep your system running efficiently when you need it most.