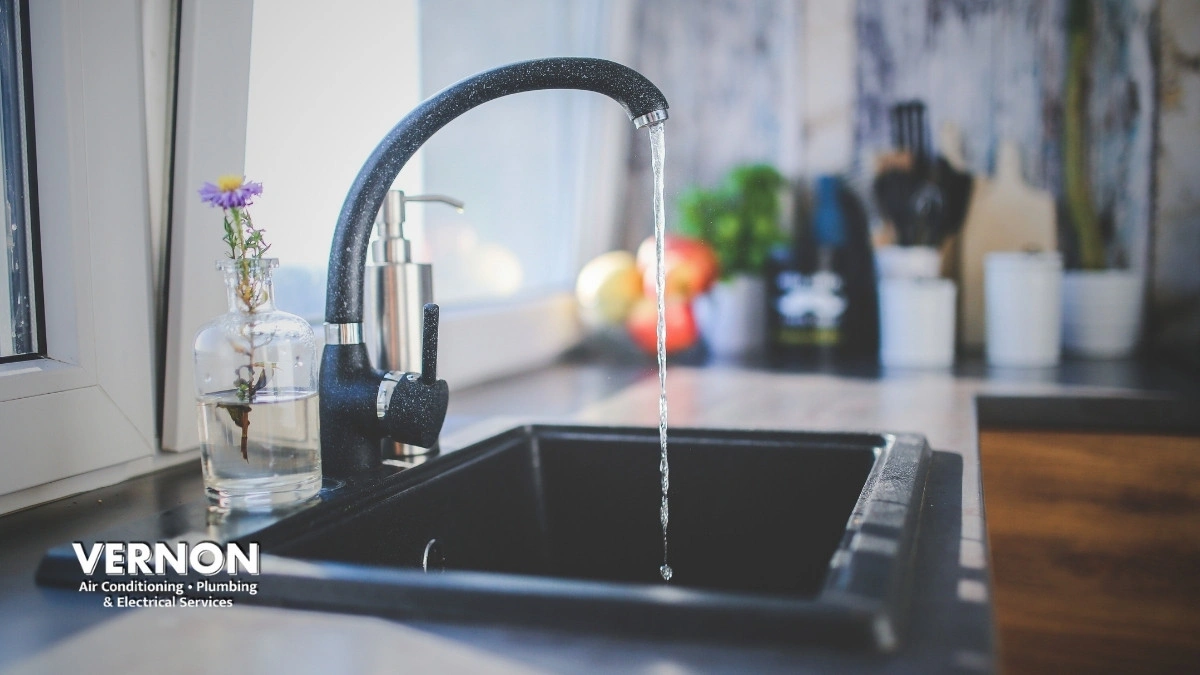

A leaky faucet is more than just an annoyance; it’s wasted water, higher bills, and that drip-drip-drip that keeps you up at night. The good news? Leaky faucet repair is one of the simplest DIY plumbing projects you can tackle.
Whether you’re dealing with a dripping faucet in the bathroom or kitchen faucets with loose handles, this guide will walk you through the causes, tools, and steps to fix a leaky faucet like a pro.
Why Do Faucets Leak?
A leaking faucet can come from many sources, depending on the faucet type:
- Worn-out rubber washers or seat washers (common in compression faucets).
- Damaged O-rings that no longer seal the faucet body.
- A broken or clogged faucet cartridge.
- A corroded valve seat causing leaks at the spout.
- Loose faucet components such as a packing nut, retaining nut, or handle screw.
- Mineral deposits and mineral buildup that wear down seals over time.
- Excessive home water pressure stresses the parts.
💡 Fact: Just one drip per second wastes over 3,000 gallons of water every year, which is a real hit to your water bill.
Tools You’ll Need for Faucet Repair
Before starting, gather these tools and replacement parts:
- Adjustable wrench or adjustable pliers
- Screwdrivers (Phillips, flathead, and sometimes an Allen wrench)
- Needle-nose pliers
- Utility knife (for cutting old O-rings)
- Faucet repair kit with washers, O-rings, and cartridges
- Seat wrench (for damaged valve seats)
- Silicone grease or plumber’s grease (always apply plumber’s grease to seals)
- Towels and a small bucket to catch water
- Rag or sink stopper to prevent losing small parts down the drain
Step-by-Step Guide to Fix a Leaky Faucet
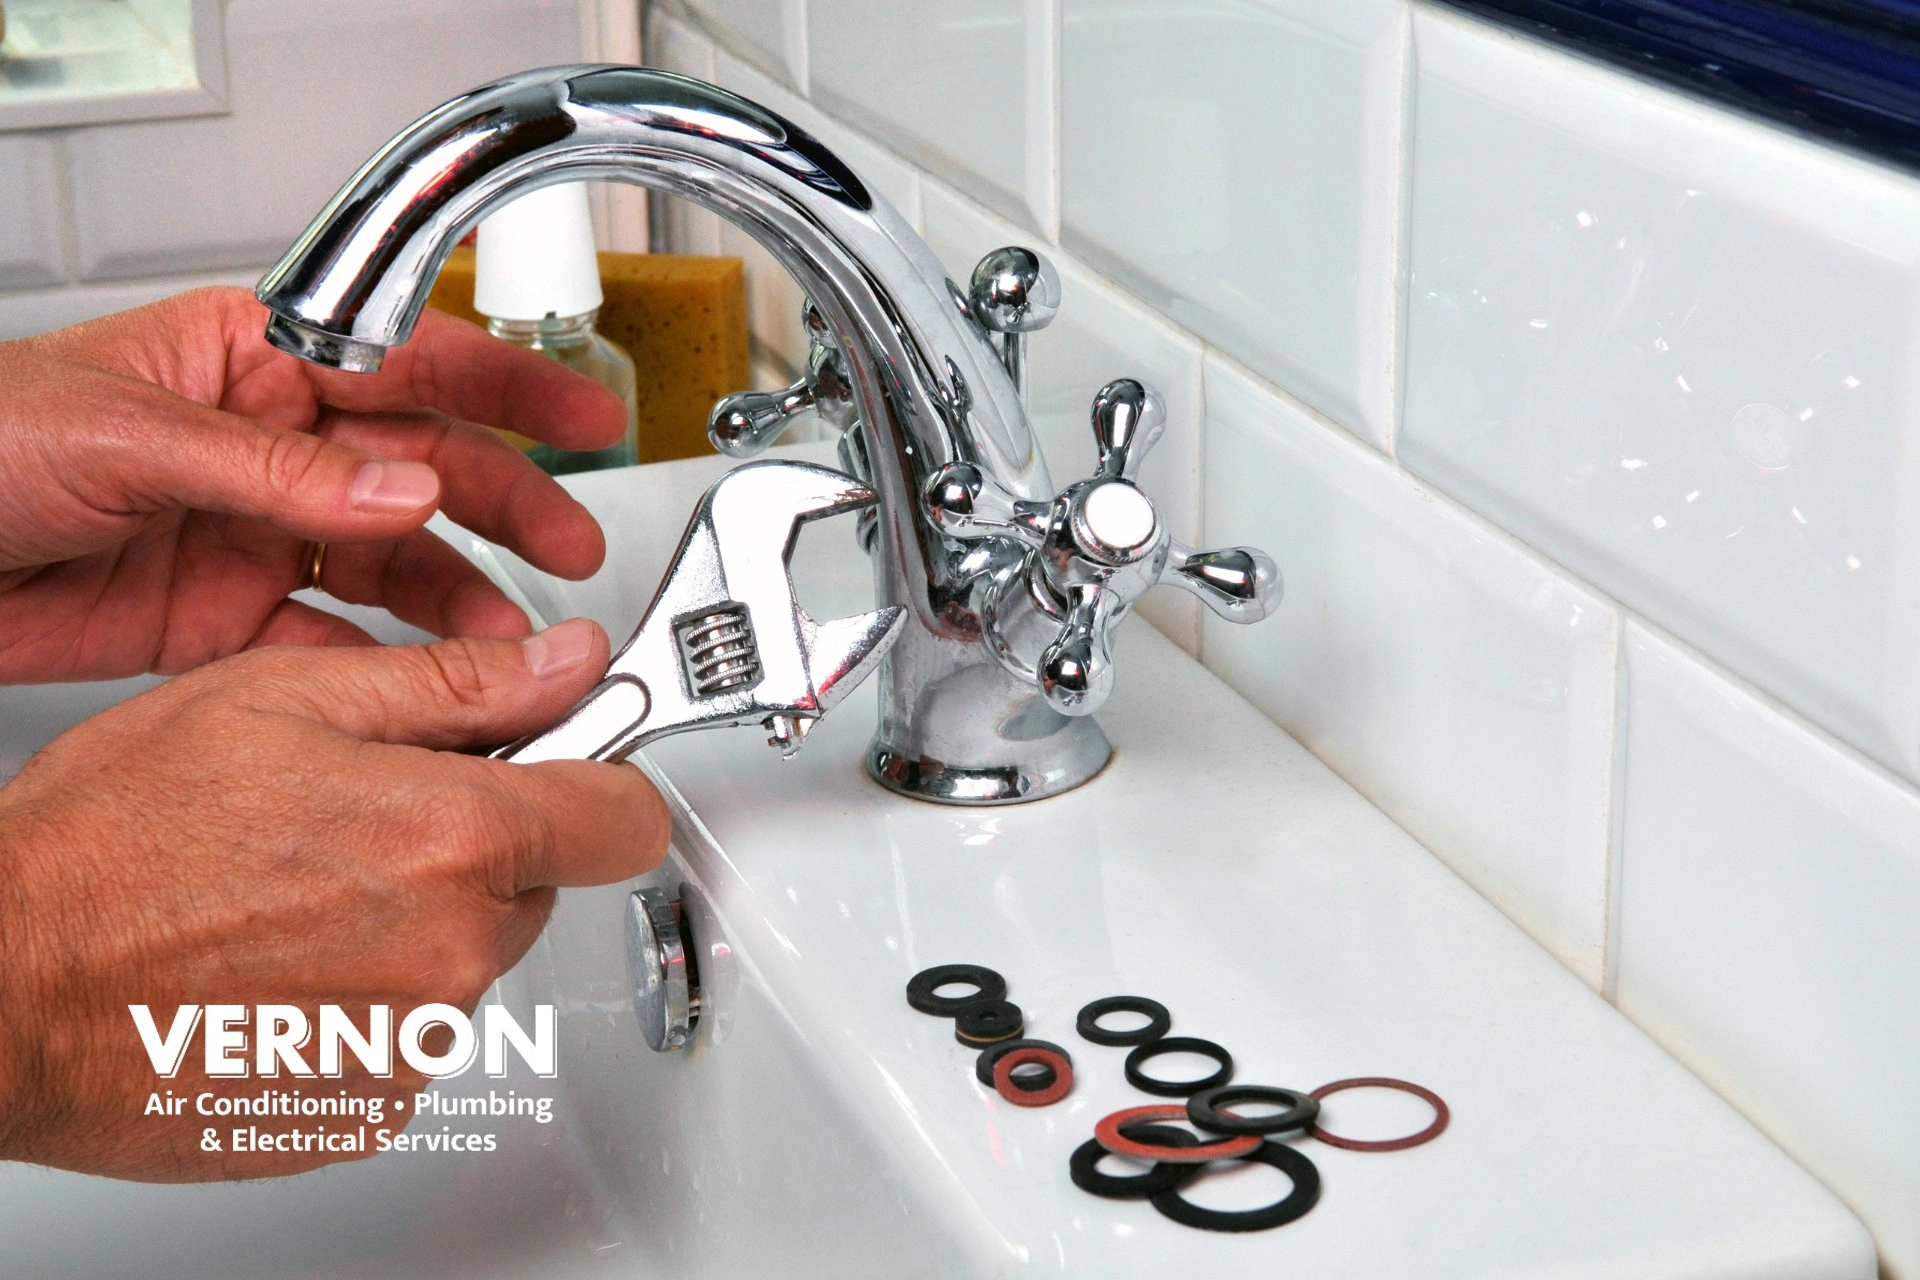
1. Turn Off the Water Supply
- Locate the water supply valves under the sink.
- Shut off both hot and cold water.
- Open the faucet to control water flow and release pressure.
✅ PRO TIP: Plug the drain with a rag so small faucet parts don’t fall through.
2. Remove the Handle
- Pry off the decorative cap.
- Unscrew the handle screw with a screwdriver or hex key.
- Gently pull off the handle.
3. Inspect the Faucet Components
- Check the O-rings, seat washer, and faucet cartridge for cracks, wear, or corrosion.
- For ceramic disk faucet models, check neoprene seals; ball faucets need inspection of springs and seals.
4. Replace Faulty Parts
- Swap worn washers and O-rings with new O-rings of the same size.
- For cartridge faucets, pull out the old cartridge (sometimes referred to as “cartridge straight” removal) and install a new one.
- Clean or remove mineral deposits with white vinegar.
- Lubricate with silicone grease before reassembly.
5. Reassemble the Faucet
- Replace handles, tighten the packing nut, and the retaining nut.
- Replace the decorative cap.
- Slowly turn on the water supply and test.
Types of Faucets and Common Repairs
- Compression faucets: Replace the seat washer and O-ring.
- Cartridge faucets: Replace the faucet cartridge.
- Ball faucets: Replace seals, springs, and cam washer.
- Ceramic disk faucet: Replace neoprene seals, clean with white vinegar.
👉 PRO TIP: Take old faucet parts to your local hardware store to match exact replacement parts.
How to Prevent Faucet Leaks
- Inspect faucet components every 6 months.
- Clean and lubricate moving parts with plumber’s grease or silicone grease.
- Remove mineral deposits with vinegar to prevent mineral buildup.
- Avoid over-tightening handles on newer faucets.
- Install a regulator if your water pressure is consistently above 60 psi.
- Moderate hot water and cold water shifts to avoid stress on seals.
When to Seek Professional Assistance
DIY works for many faucet repairs, but call for professional assistance if:
- The faucet body is cracked.
- The leak continues even after you replace washers or cartridges.
- Corrosion has spread beyond the faucet components.
Key Takeaways
- A leaky faucet is more than just an annoyance — it wastes water and raises your water bill.
- Most faucet leaks are caused by worn washers, damaged O-rings, or a faulty faucet cartridge.
- Always shut off the water supply valves and plug the drain before starting any faucet repair.
- Use the right tools: an adjustable wrench, needle-nose pliers, and plumber’s grease to protect new parts.
- Different faucet types (compression, cartridge, ball, ceramic disk) require different fixes — know your faucet before you start.
- Prevention is key: inspect and lubricate faucet components, keep water pressure between 40–60 psi, and clean mineral deposits with vinegar.
- Many faucet repairs are DIY-friendly, but seek professional assistance if corrosion is severe or leaks persist.
Conclusion

Fixing a dripping faucet isn’t just about saving money, it’s about stopping wasted water and preventing long-term damage. With the right tools and a little patience, you can repair most faucet leaks yourself.
Need help beyond DIY? Homeowners in the North Okanagan can rely on Vernon Air Conditioning, Plumbing & Electrical Services for expert plumbing repair, offering same-day service and trusted local care.
📖 Read More: Common Plumbing Problems: A Complete Guide for Canadian Homeowners
Vernon Air Conditioning, Plumbing & Electrical Services
909 Kalamalka Lake Rd, Vernon, BC V1T 6V4
Phone: 778-403-7886
Need help with faucet and sink repairs? Book online or call today for fast services across the North Okanagan.